FLOWERES

11:22 AM / Comments (0) / by PPR

Sleep Box coming to Dubai Airport

11:03 PM / Comments (0) / by PPR

Sleep Box coming to Dubai Airport

Sleep Box coming to Dubai Airport

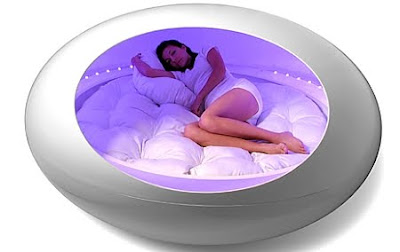
It is thought that Dubai International Airport is planning to install 50-70 Sleep Boxes. Sleep Boxes are small cubicle spaces that are available at public places such as airports and train stations where people can book the 'sleep box' for a set time period to catch some sleep.

Sleep Box offers its users a small resting space while they wait for their ongoing connection. The concept is not new as Japan already has 'Capsule Hotels' that serve the same purpose. The only difference is that Sleep Boxes are bigger in size and give space to sit and sleep.

If introduced, the Sleep Box at Dubai Airport will primarily be intended to perform one main function which is to enable a person to sleep peacefully. But it may also be equipped with various additional functions, depending on the situation. Application of the device can be very broad, not only in the form of paid public service, but also for internal purposes of organizations and companies.

Specifications for the Sleep Box are as follows:

  • Size: 2 m x 1,40m x 2,30m to sleep in comfort and security.
  • Cheap sleep in case of emergency for anyone rich or poor!!
  • No time wasted looking for a hotel
  • Designed to be installed at train stations and airports, and central public places or cities where accommodation is fully booked.
  • In tropical climate countries the sleeper box can be installed outdoors in main streets.
  • The space includes bed, linen, ventilation system, alarm. LCD TV, WiFi , space for your laptop and re chargeable phone. Under your bed and floor there is a cupboard for your luggage.
  • Payment is made at terminals who will give clients an electronic key that can be purchased for 15 minutes or for as many hours as you need.

Click on the Video below to watch a clip…


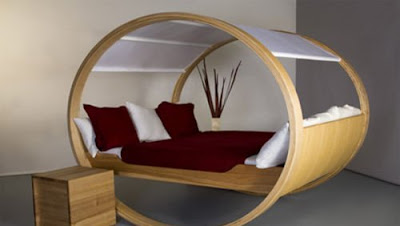
which one you want ?

5:03 PM / Comments (0) / by PPR


Shoe Lacing Style

5:43 PM / Comments (0) / by PPR


1. The lace is run straight across the bottom and emerges through both bottom eyelets.
2. The laces then go straight up and are fed into the next set of eyelets up the shoe.
3. The ends are crossed over and are fed under the vertical lace section on the opposite sides of the shoe before going straight up and into the next set of eyelets up the shoe.
4. At the top set of eyelets, the laces can once again cross over and pass under the straight section as shown. This not only looks consistent with the rest of the lacing but also forms a High Lace Lock, which tightens the lacing even more firmly.

1. The lace is run straight across the bottom and emerges through both bottom eyelets.
2. The ends are looped back under the lace where it feeds under the side of the shoe.
3. The ends are then crossed over each other, then they go under and out through the next set of eyelets up the shoe.
4. Steps 2 and 3 are repeated until both ends reach the top eyelets.

1. The lace runs straight across the second set of eyelets from the top of the shoe.
2. Cross the ends over and feed into the fourth set of eyelets, skipping the third set.
3. Continue down the shoe, two sets of eyelets at a time.
4. At the bottom, run the laces vertically between the bottom and second from bottom eyelets
5. Double back and work your way back up the shoe through the vacant sets of eyelets.

1. The lace is run straight across the bottom and emerges through both bottom eyelets
2. The left (red) end is spiralled up the left side of the shoe, with the end fed under and emerging from each eyelet.
3. The right (orange) lace is spiralled up the right side of the shoe, at each eyelet looping through the left (blue) lace in the middle of the shoe before feeding under and emerging from the next eyelet.

1. The lace is run straight across the bottom and emerges through both bottom eyelets.
2. One end of the lace (orange end) runs straight up the right side, is fed into and runs straight across the second set of eyelets.
3. Both ends now run straight up the left side, each skipping one eyelet before feeding in two eyelets higher up.
4. Continue running both ends across the shoe, then straight up two eyelets at a time.
5. At the top of the shoe, the laces end up on the same side and the shoelace knot is tied at that point.


1. The lace runs straight across the bottom and the ends are fed into both bottom eyelets.
2. One end of the lace (orange end) runs straight up the right side, emerges from and runs straight across the second set of eyelets.
3. The other end (red end) runs diagonally underneath and, skipping the 2nd set of eyelets, emerges from and runs straight across the 3rd set of eyelets.
4. Continue running each lace diagonally across and up 2 sets of eyelets until one end (orange in my example) reaches the top right eyelet.
5. The other end (red in my example) then runs straight up the left side to emerge from the top left eyelet.

1. The lace runs straight across and emerges from the third set of eyelets from the bottom.
2. Both ends run straight down and are fed into the second set of eyelets from the bottom.
3. Both ends again run straight down and emerge from the bottom set of eyelets.
4. Both ends now run straight up along the outside and are fed into the fourth set of eyelets (the first vacant pair).
5. The ends are crossed over each other, then they go under and out through the next set of eyelets up the shoe.
6. Repeat step (5) until both ends reach the top.

1. The lace is run straight across the bottom and is fed into rather than emerging from both bottom eyelets.
2. The ends are crossed over, then inserted into the next set of eyelets up the shoe.
3. This process is repeated until both ends reach the top eyelets and end up inside.


1. The lace runs straight across the bottom and emerges through both bottom eyelets.
2. Skipping two sets of eyelets, cross the ends over and feed into the fourth set of eyelets.
3. Both ends now run straight down one eyelet and emerge from the third set of eyelets.
4. Continue up the shoe, each time crossing over and going up three sets of eyelets, then straight down to emerge from the next set of eyelets below.

1. The lace is run straight across the bottom and emerges through both bottom eyelets.
2. The ends are twisted together with one complete twist in the middle of the shoe.
3. The ends then continue across to the opposite sides, where they go under and out through the next set of eyelets up the shoe.
4. This process is repeated until both ends reach the top eyelets.

1. The lace runs straight across the bottom and emerges from both bottom eyelets.
2. Cross the ends over and feed into the 4th set of eyelets up the shoe (skip past 2 sets of eyelets).
3. Both ends now run straight up and emerge from the 5th set of eyelets
4. Cross the ends over and feed into the 2nd set of eyelets up the shoe (skip past 2 sets of eyelets).
5. Both ends now run straight up and emerge from the 3rd set of eyelets.
6. Cross the ends over, feed under and emerge from the top set of eyelets (skip past 2 sets of eyelets).

1. The lace is run diagonally and emerges from the bottom left and the top right eyelets.
2. The top (red) end of the lace is zig-zagged from the top set of eyelets down to the middle eyelets in a similar manner to the Shoe Shop Lacing.
3. The bottom (orange) end of the lace is similarly zig-zagged from the bottom set of eyelets up to the middle eyelets.

1. Start with two pairs of different colour laces, preferably the wide, flat variety (I was lucky to receive two such pairs with my last runners!).
2. With one colour (orange in my example), lace the shoe using either Straight (Fashion) or Straight (Lazy) Lacing.
3. With the other colour (red in my example), start at the bottom of the shoe and weave the lace in and out of the other lace until you reach the top.
4. Fold around the top lace and head back down, weaving out and in until you reach the bottom.
5. Continue across the shoe until you're out of room or out of lace, whichever comes first 6. Tuck all the loose ends of the laces into the shoe.

1. The lace runs straight across the bottom and emerges from both bottom eyelets
2. Cross the ends over and feed into the 4th set of eyelets up the shoe (skip past 2 sets of eyelets)
3. Both ends now run straight up and emerge from the 5th set of eyelets.
4. Cross the ends over and feed into the 2nd set of eyelets up the shoe (skip past 2 sets of eyelets) .
5. Both ends now run straight up and emerge from the 3rd set of eyelets.
6. Cross the ends over, feed under and emerge from the top set of eyelets (skip past 2 sets of eyelets).


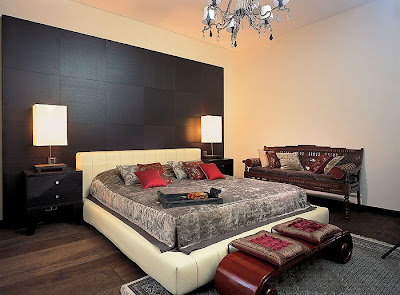
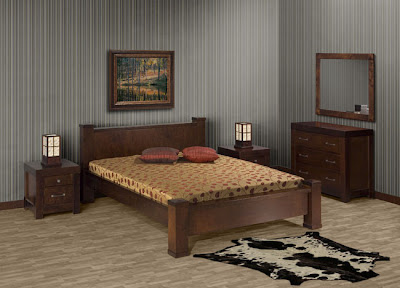
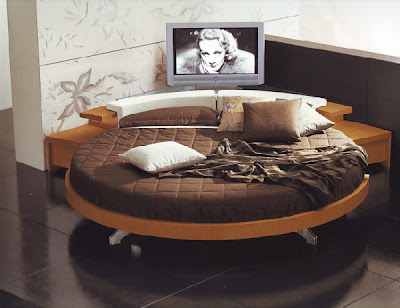
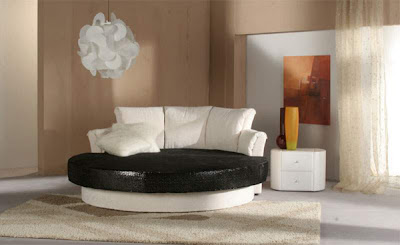
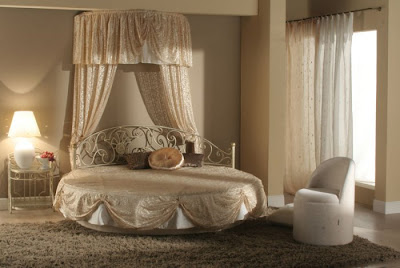
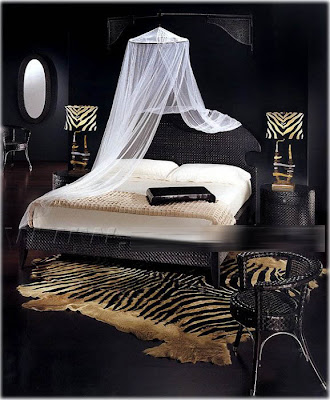
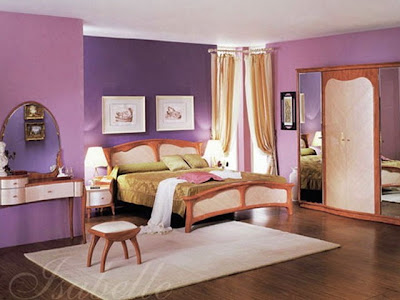
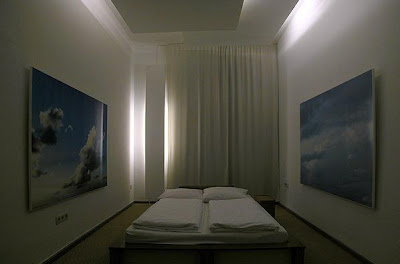
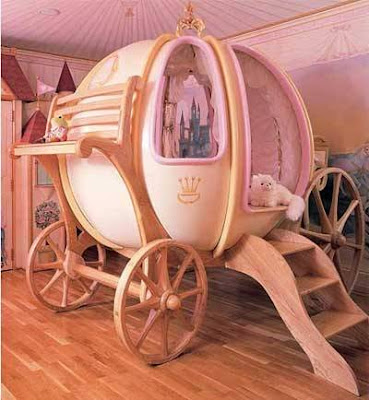
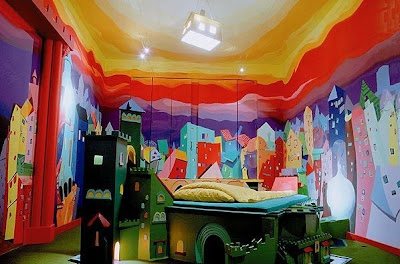
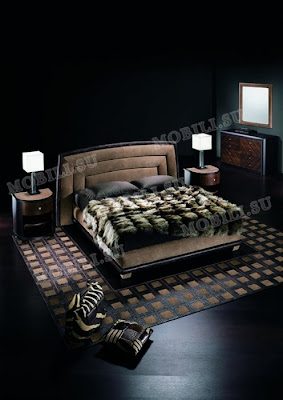
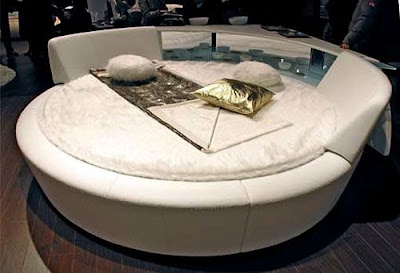
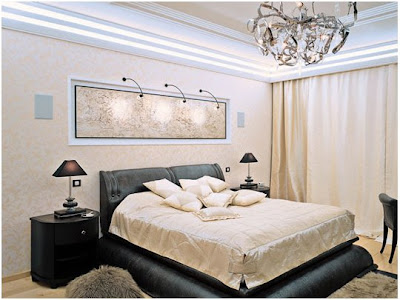
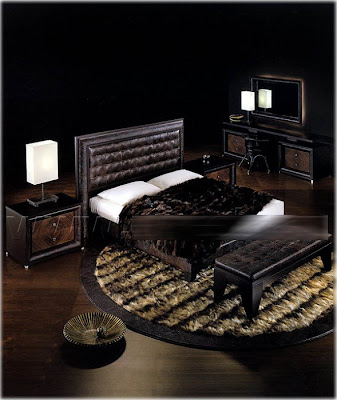
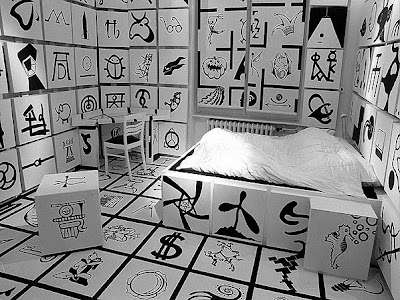
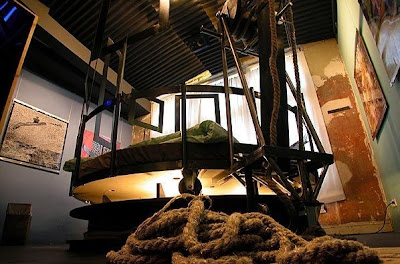
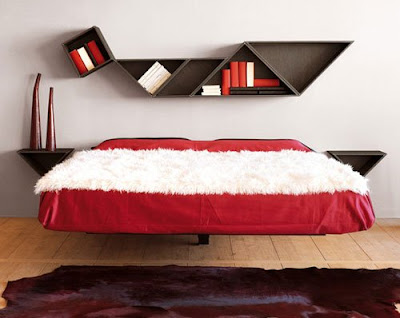
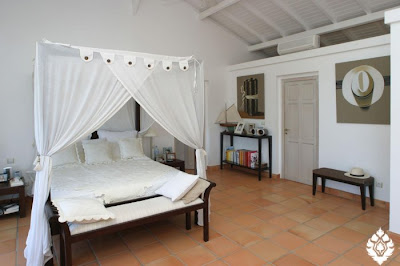
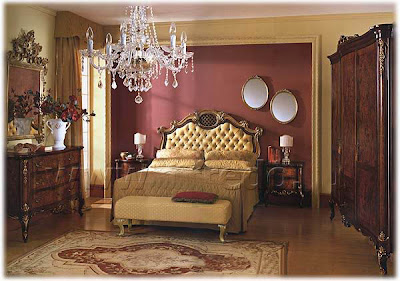
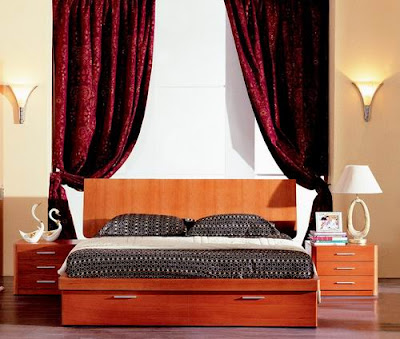
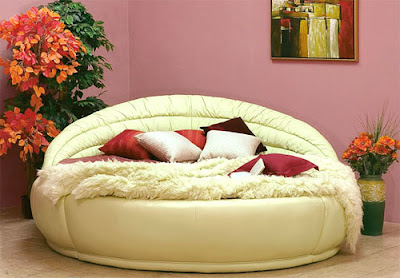
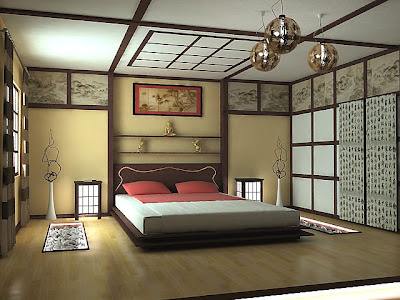
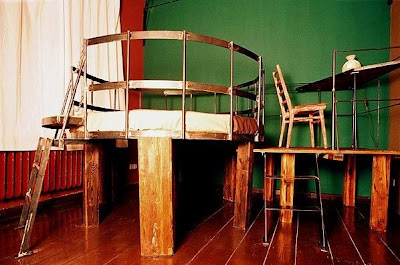
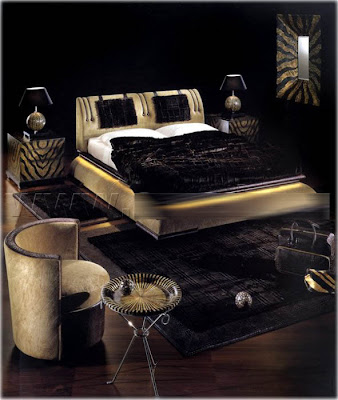
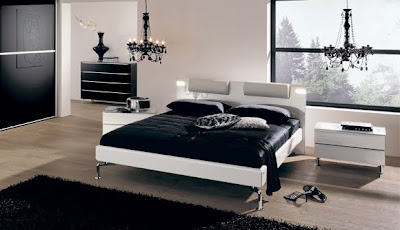
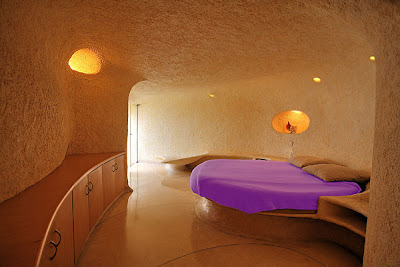
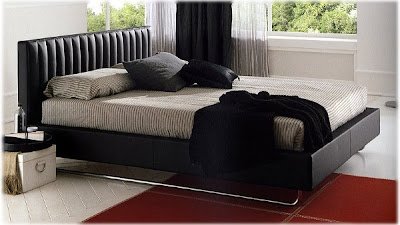
Awesome bedroom designs

6:39 AM / Comments (0) / by PPR

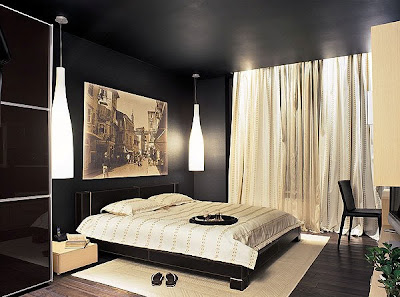
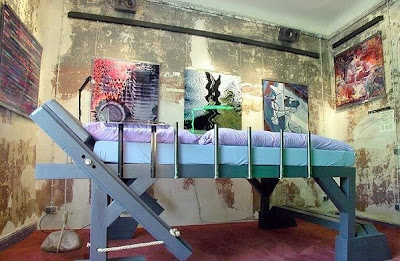
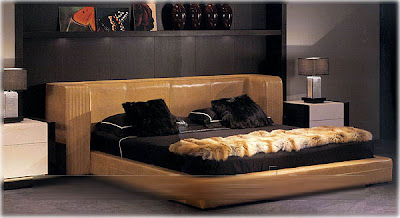
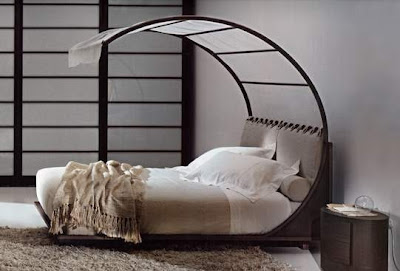
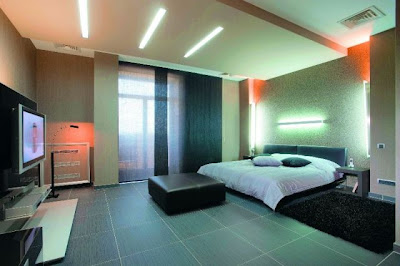
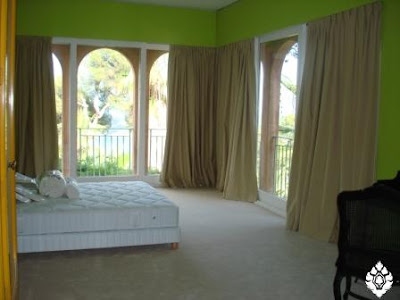
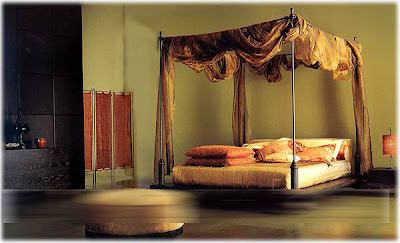
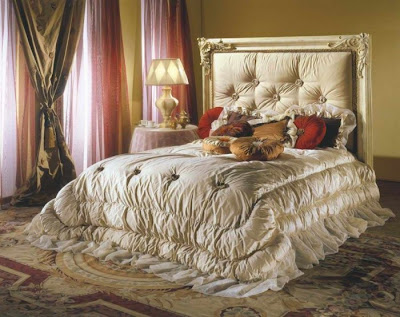
Outstanding Bedrooms! A Must Watch
Awesome bedroom designs Seen On coolpicturegallery.blogspot.com

Awesome bedroom designs Seen On coolpicturegallery.blogspot.com